

Washed Resin Stone
What is Resin Stone?
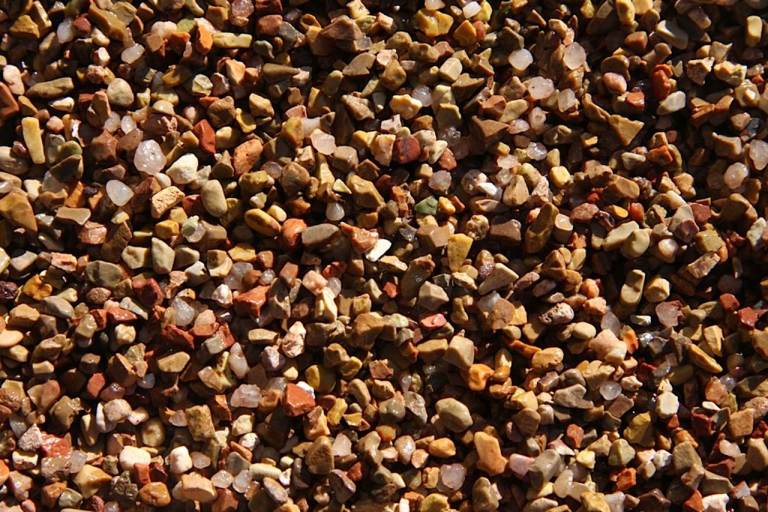
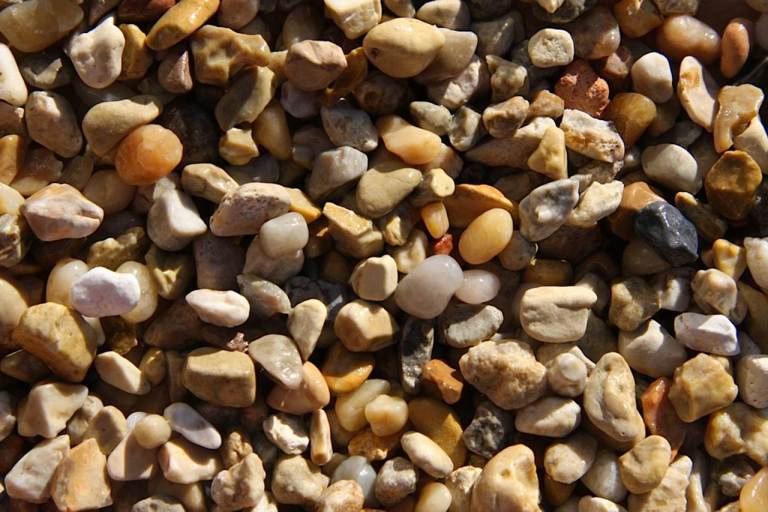
Washed resin stone is a stunning and durable surface solution made by binding natural stones with a high-performance resin. This combination creates a seamless, slip-resistant, and visually appealing finish perfect for patios, driveways, walkways, and more. Its versatility allows it to complement both modern and traditional aesthetics, making it a favorite for residential and commercial projects alike.
- Enhances Property Value: Resin stone installations add curb appeal and sophistication, increasing the resale value of your property.
- Cost-Effective Investment: With minimal maintenance and long-lasting durability, it’s a budget-friendly option compared to frequent repairs or replacements needed for other materials.
- Eco-Friendly Choice: Using natural stones and advanced resin technology, this solution minimizes environmental impact while delivering outstanding performance.
- Low Maintenance: The non-porous surface resists stains, weeds, and moss, requiring only occasional washing to keep it looking pristine.


Frequently Asked Questions about Resin Stone
At Ember Epoxy, we pride ourselves on delivering exceptional quality and craftsmanship for every project. Here’s why we stand out:
- Expertise You Can Trust: With years of experience in resin applications, we’ve perfected the art of creating stunning and durable surfaces tailored to your needs.
- Commitment to Quality: We use only the highest-quality materials and cutting-edge techniques to ensure a flawless finish that lasts for years.
- Customer-Centric Approach: Your satisfaction is our top priority. From consultation to completion, we work closely with you to bring your vision to life.
- Local Advantage: As a trusted provider in the Greater Michiana Area, we understand the unique needs of our community and deliver solutions designed to withstand local conditions.
Installation Process for Washed Resin Stone
At Ember Epoxy, we follow a meticulous, multi-step process to ensure your garage floor is flawless, durable, and long-lasting.
Initial Consultation and Site Assessment
- We begin with a consultation to understand your vision and requirements.
- Our team visits the site to assess the area, measure dimensions, and evaluate factors like drainage, base condition, and surrounding structures.
Surface Preparation
- The existing surface is cleaned thoroughly to ensure proper adhesion.
- If necessary, the base is repaired, leveled, or replaced to provide a stable foundation. For new installations, a compacted sub-base of aggregate or concrete is created to ensure strength and durability.
- Edging is installed to define the area and create a clean, professional border for the resin stone.
Mixing the Resin and Aggregate
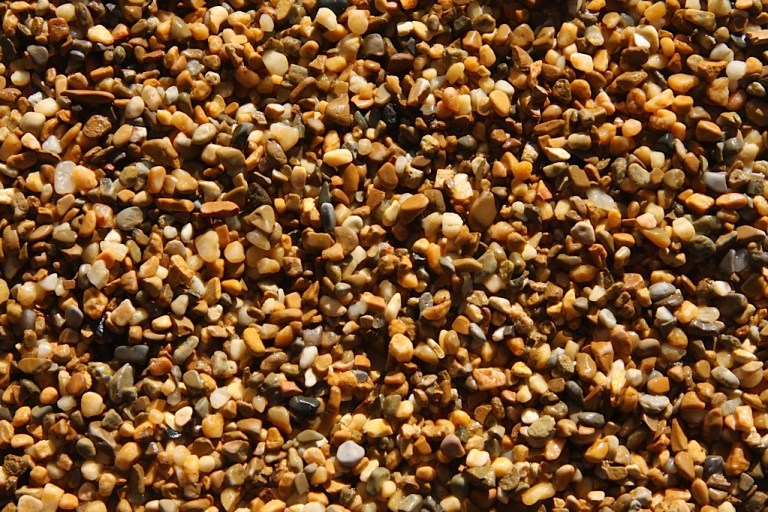
- High-quality natural stones are washed and dried to remove dust or impurities.
- A premium resin is mixed thoroughly with the selected stones to ensure even coverage and a strong bond.
Application of the Resin Stone Layer
- The resin-stone mixture is spread evenly across the prepared surface using specialized tools, such as a trowel, to ensure a smooth and uniform finish.
- Thickness is typically between 15–18mm, depending on the project requirements and expected traffic load.
Sealing and Smoothing
- The surface is smoothed to remove any imperfections and create a flawless finish.
- A UV-resistant sealant is applied to protect the surface from discoloration, wear, and weather damage.
Curing Process
- The resin stone is left to cure for 24–48 hours, depending on weather conditions. During this time, the area is protected to prevent foot or vehicle traffic.
Final Inspection and Cleanup
- Once cured, the surface is inspected for quality and durability.
- Any loose material is removed, and the site is cleaned to leave your space pristine and ready to enjoy.
Post-Installation Support
- We provide guidance on maintenance to ensure your resin stone surface stays beautiful for years.
- Our team is always available for follow-up questions or touch-ups as needed.
How long does the installation process take?
- The installation of washed resin stone typically takes 2–3 days, depending on the size of the project and the complexity of the design.
How durable is washed resin stone?
- Washed resin stone is extremely durable, withstanding weather extremes, foot traffic, and moderate vehicle use. Its UV-resistant properties ensure it doesn’t fade or deteriorate, making it ideal for both residential and commercial outdoor applications.
Can I install washed resin stone myself?
- Due to the specialized tools, materials, and expertise required, professional installation is strongly recommended for washed resin stone. This ensures proper bonding, an even finish, and long-lasting durability.
Is washed resin stone slippery?
- No, washed resin stone provides a naturally textured, slip-resistant surface, even when wet, making it a safe choice for patios, walkways, and pool areas.
How long does washed resin stone last?
- With professional installation and basic maintenance, washed resin stone can last 10–20 years or more, making it a long-term investment for your property.
What maintenance does washed resin stone require?
- Maintenance is simple: occasional cleaning with a pressure washer or hose will keep the surface looking pristine. Its non-porous nature resists stains, weeds, and moss, reducing the need for frequent upkeep.
The cost of a resin stone installation typically ranges between $40 to $75 per square foot, depending on the project’s complexity and specific requirements. For larger projects, the per-square-foot cost may decrease slightly due to economies of scale.
For example:
- A small patio (200 sq. ft.) might cost $8,000–$15,000.
- A large driveway (1,000 sq. ft.) could range from $40,000–$70,000.
Cost Variables
Several factors influence the cost of a resin stone installation. Here are the main variables to consider:
Project Size
- Larger areas generally have a lower cost per square foot due to the efficient use of materials and equipment.
- Smaller projects may have a higher per-square-foot cost due to setup and material minimums.
Base Preparation
- If the base is already in good condition, costs will be lower.
- A damaged or uneven base may require repairs, leveling, or replacement, which adds to the overall cost.
Type of Aggregate
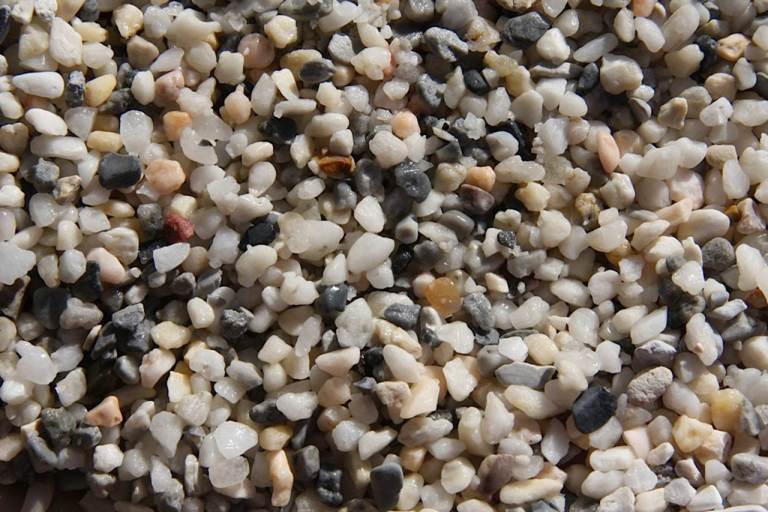
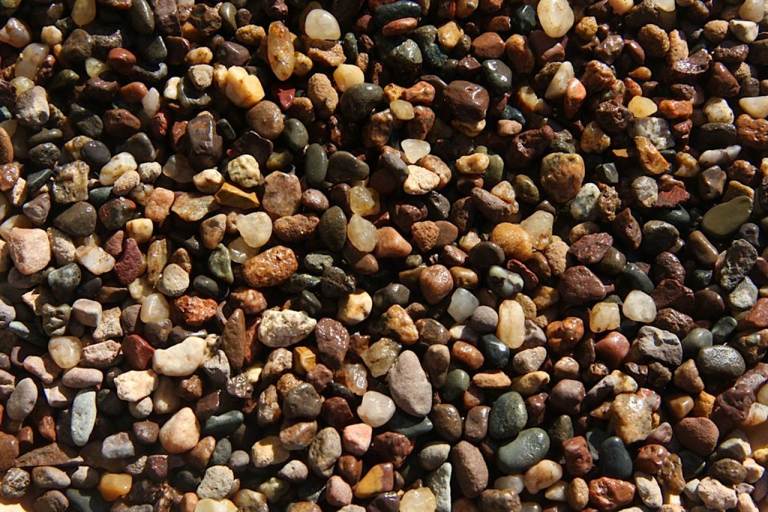
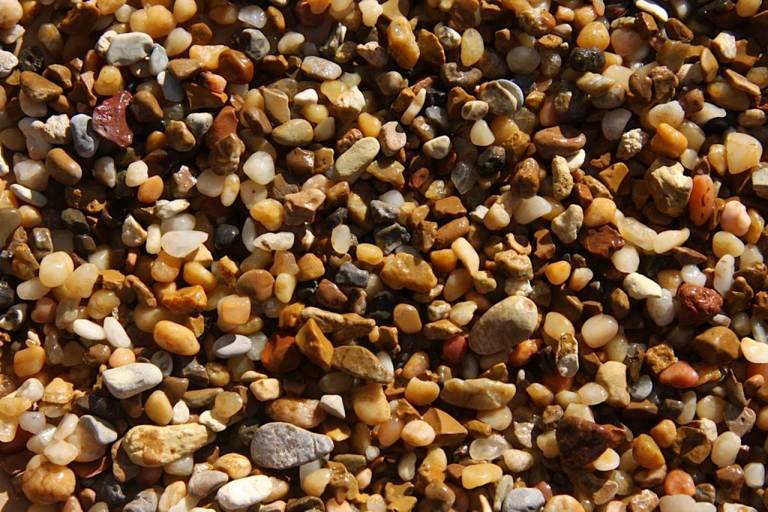
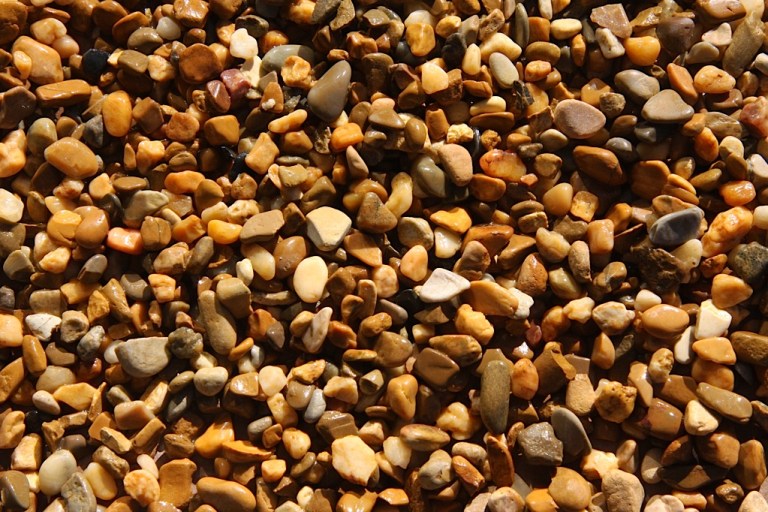
- The choice of natural stones (e.g., quartz, granite, or marble) affects the price.
- Rare or premium aggregates with unique colors or textures are more expensive.
Resin Quality
- High-quality, UV-resistant resin ensures long-lasting durability but comes at a higher price.
- Budget-friendly options may be available but might sacrifice longevity.
Design Complexity
- Simple, uniform designs are more affordable than intricate patterns or multi-color blends.
- Custom borders, logos, or decorative elements increase labor and material costs.
Accessibility of the Site
- Easily accessible locations with minimal obstacles are quicker and cheaper to work on.
- Tight spaces, steep grades, or challenging terrain can add to labor costs.
Thickness of the Resin Stone Layer
- Standard installations are 15–18mm thick, but areas requiring higher durability, such as driveways, may require thicker applications, increasing material costs.
Drainage Features
- Adding a permeable system for water management increases the complexity and cost of the project.
Geographical Location
- Costs vary by region due to differences in labor rates and material availability. For example, resin stone installations in rural areas may be less expensive than in urban centers.
Labor Expertise
- Hiring skilled professionals ensures a flawless finish, which may cost more upfront but saves money on repairs and maintenance over time.
Coatings
Coatings