

Installing commercial concrete coatings involves several crucial steps to ensure a durable, attractive, and functional finish. These coatings are commonly used in industrial facilities, warehouses, retail spaces, and other commercial settings to enhance the appearance and performance of concrete floors. Here’s a detailed description of the typical installation process:
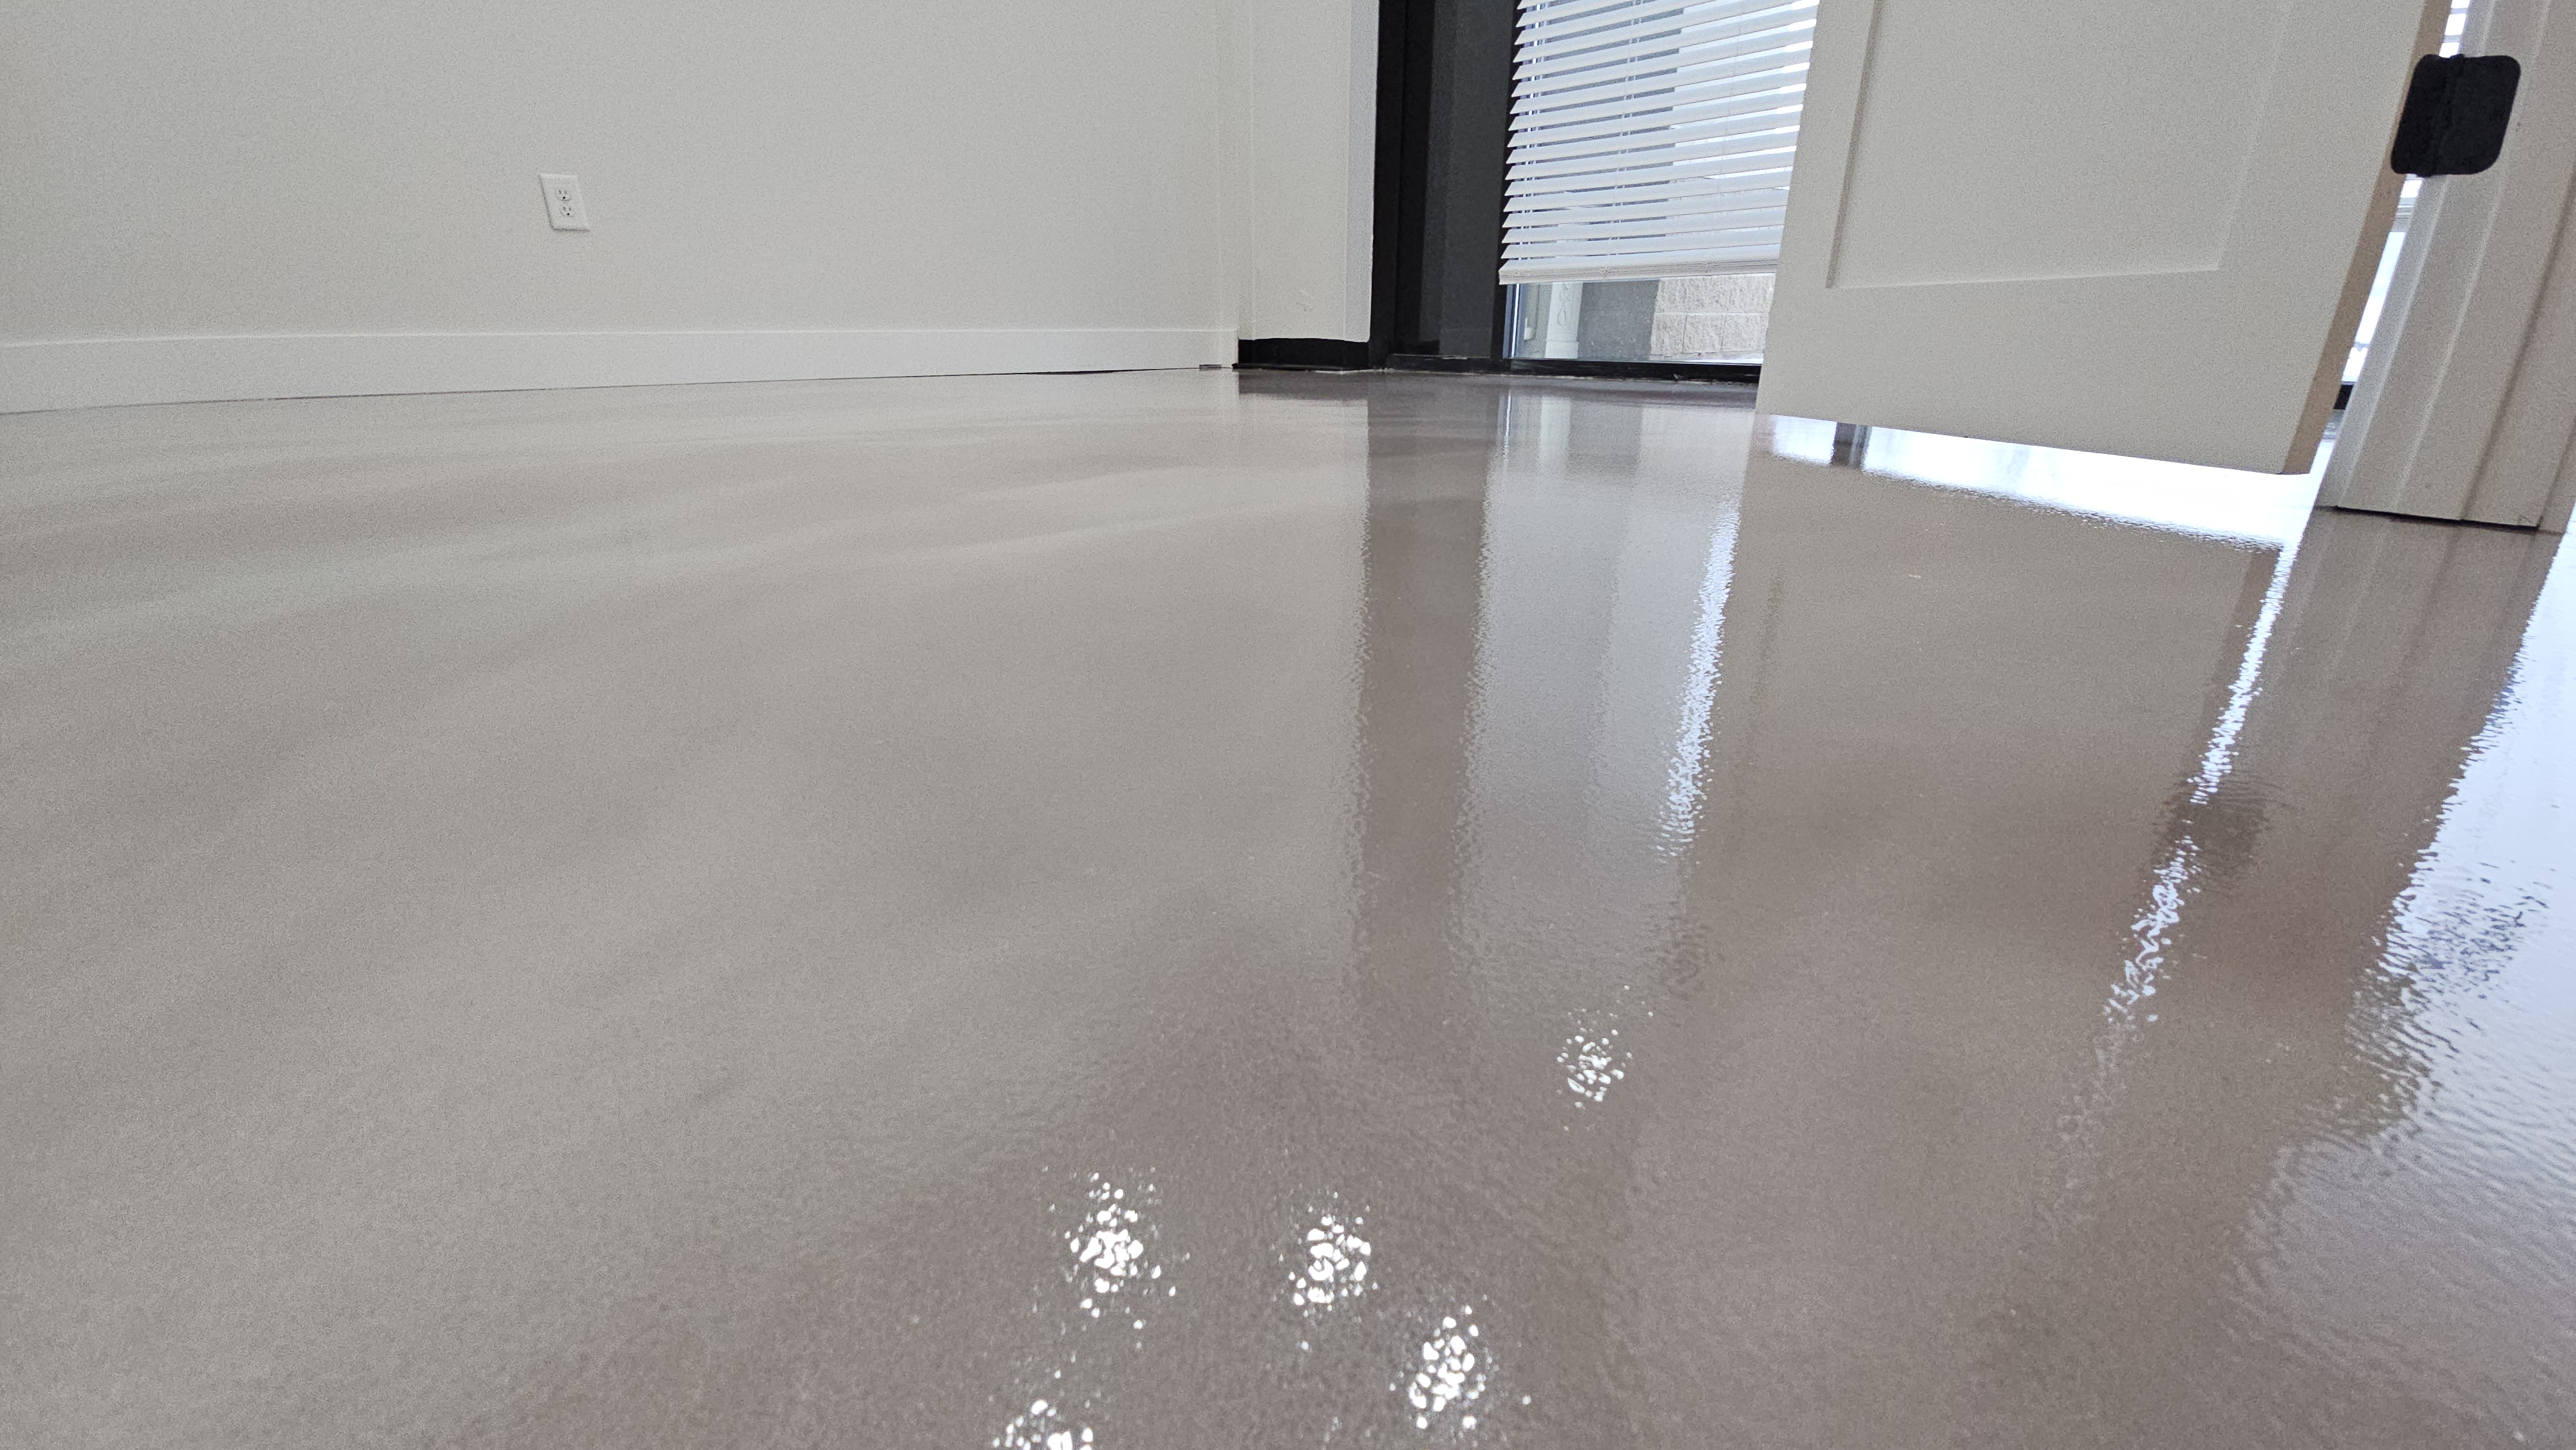
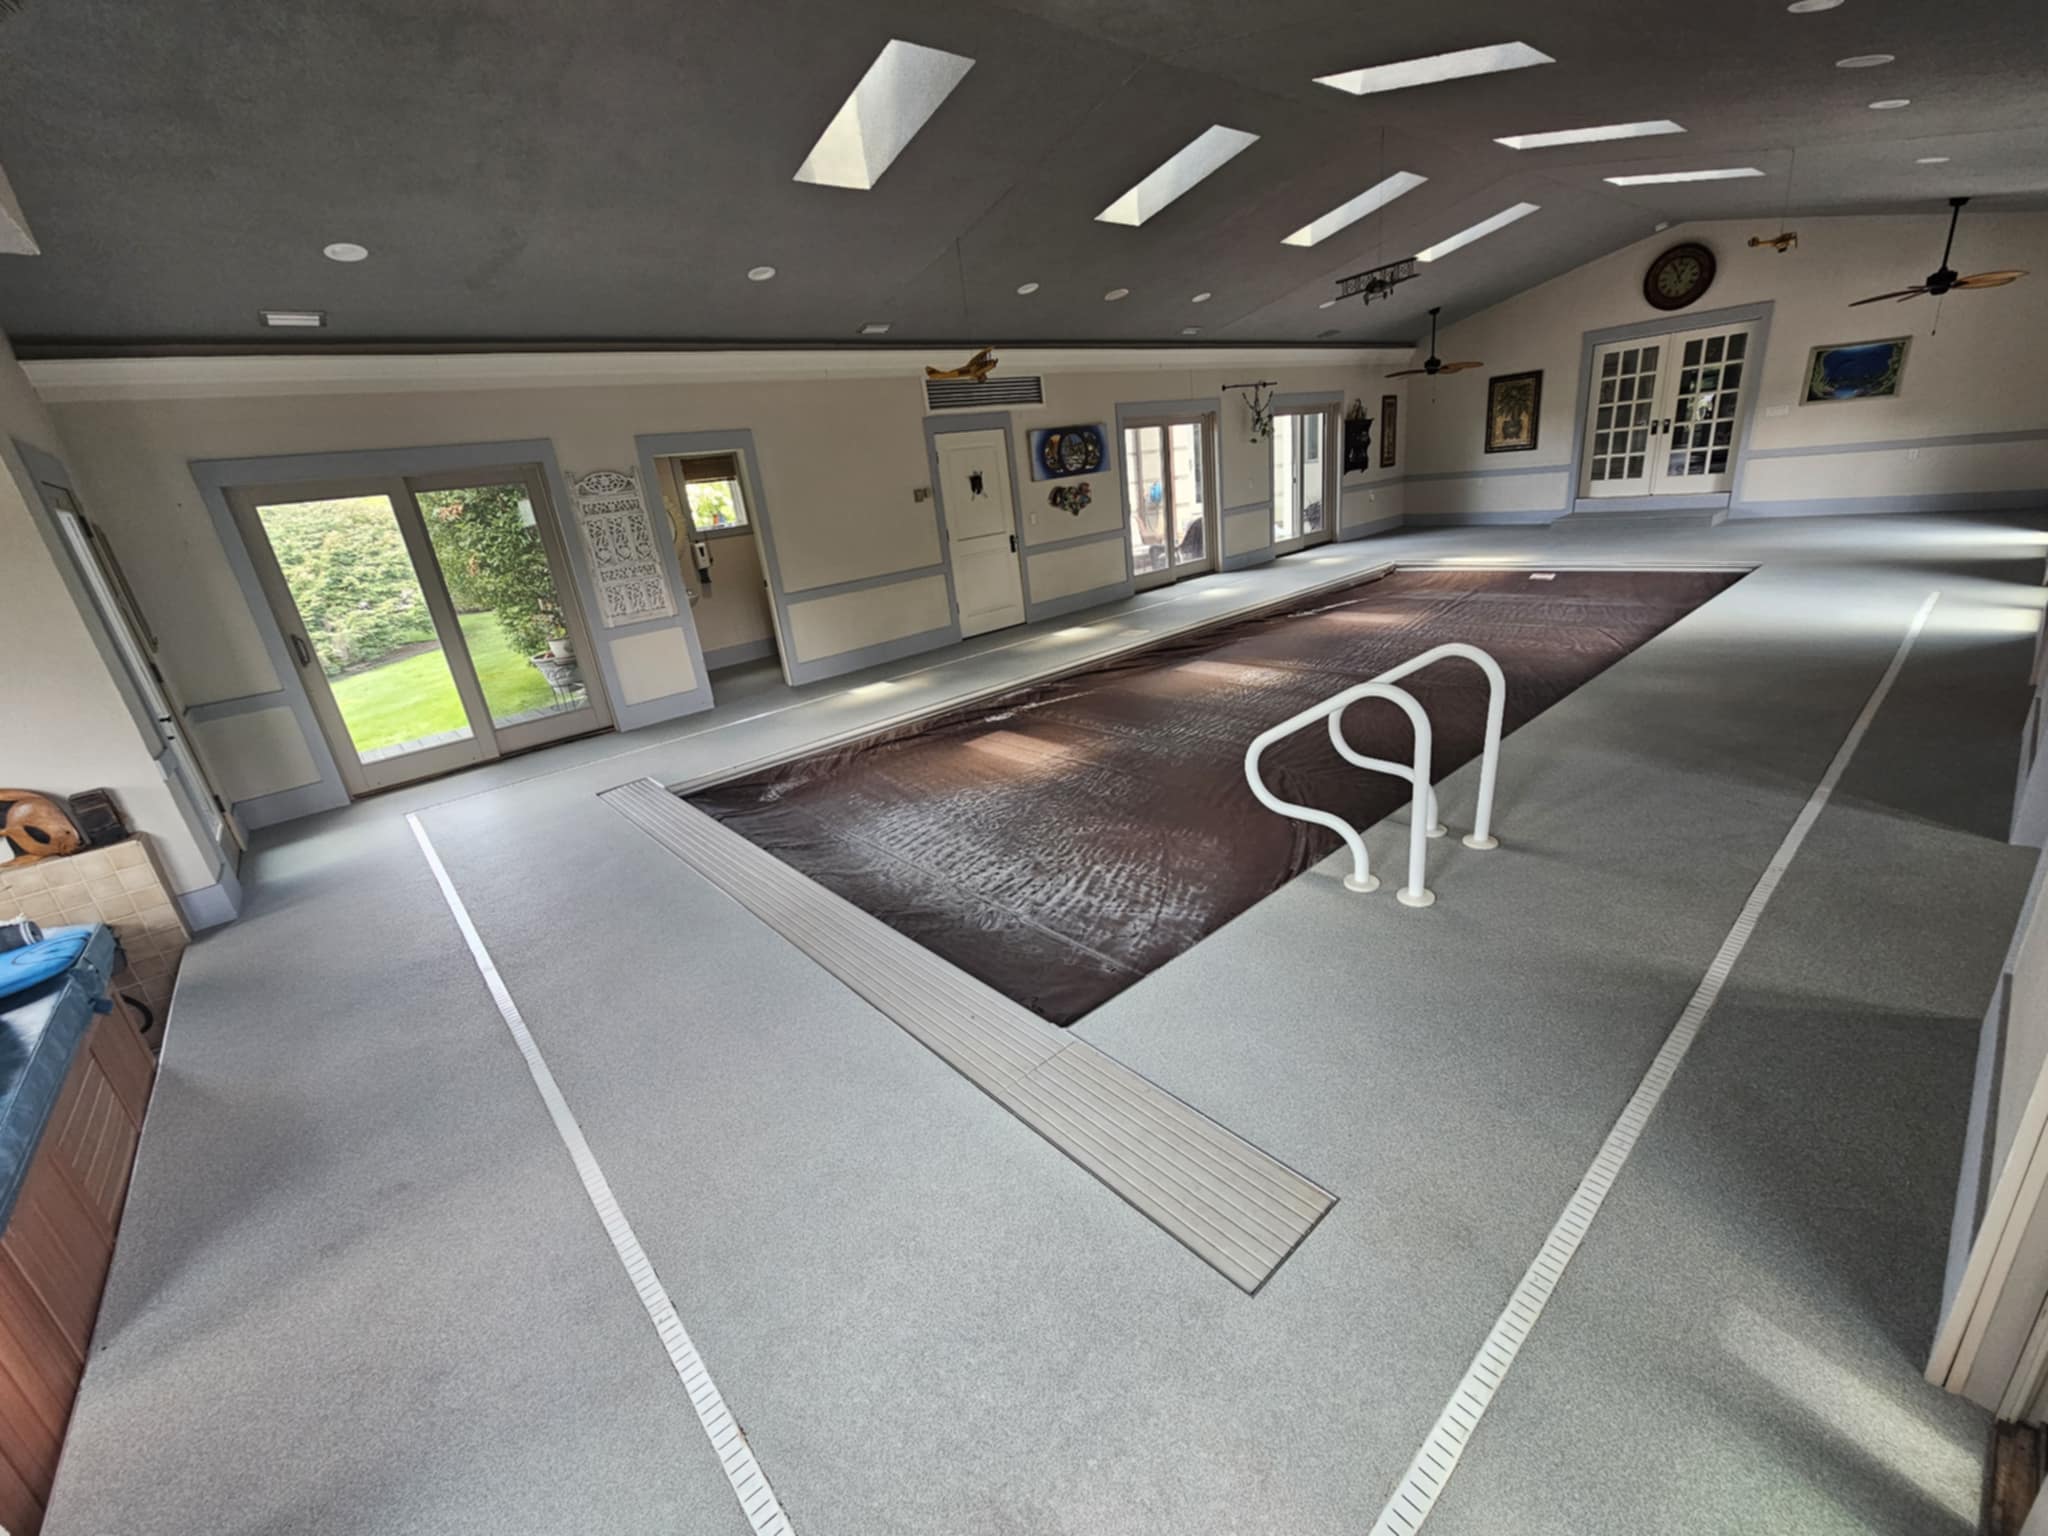
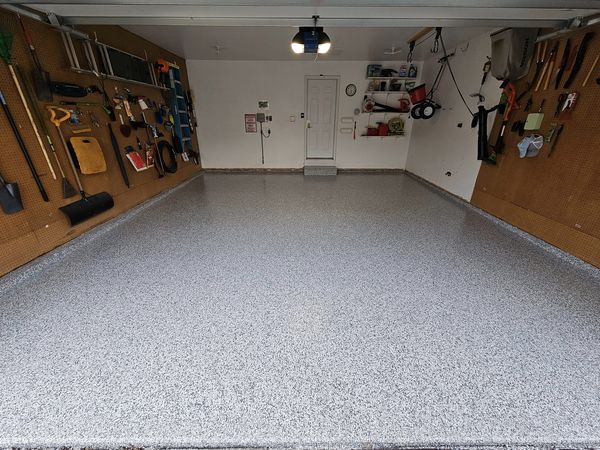
The Commercial Concrete Coatings
- Surface Preparation:
- Cleaning: Begin by thoroughly cleaning the concrete surface to remove any dirt, dust, grease, oil, or other contaminants. This can be achieved through mechanical means like shot blasting or grinding, or through chemical cleaning methods.
- Repair: Inspect the concrete for any cracks, spalls, or other damage. Repair these issues using appropriate patching materials to ensure a smooth and even surface.
- Profile Creation:
- Mechanical Profiling: Abrade the concrete surface to create a suitable profile for coating adhesion. This can be done through methods like shot blasting or diamond grinding, which roughens the surface and improves coating adhesion.
- Moisture and pH Testing:
- Moisture Test: Conduct a moisture test to ensure that the concrete has an acceptable level of moisture content. Excessive moisture can lead to coating failure.
- pH Test: Check the pH level of the concrete to ensure it falls within the acceptable range for the chosen coating system.
- Primer Application:
- Apply a suitable primer to enhance adhesion between the concrete and the coating. The primer also helps to seal the substrate and prevent issues such as outgassing.
- Base Coat Application:
- Apply the base coat of the commercial concrete coating. This layer provides the primary color and texture of the finished floor. Depending on the specific requirements, multiple coats may be applied.
- Decorative Elements (Optional):
- If the design calls for decorative elements, such as flakes, chips, or patterns, these are typically applied to the wet base coat. The decorative elements add aesthetics and texture to the floor.
- Top Coat Application:
- Apply the top coat or sealer to provide additional protection, durability, and chemical resistance to the floor. The top coat can be glossy, matte, or satin, depending on the desired finish.
- Curing:
- Allow the coated surface to cure according to the manufacturer’s recommendations. Curing times can vary based on the type of coating system used.
- Quality Inspection:
- Perform a thorough inspection of the finished surface to ensure it meets quality standards. Check for any imperfections, unevenness, or other issues that may require touch-ups.
- Final Clean-up:
- Clean up the work area, removing any masking materials or debris, to reveal the final, polished appearance of the coated concrete surface.
- Maintenance Guidelines:
- Provide the client with maintenance guidelines to ensure the longevity and performance of the commercial concrete coating. This may include recommendations for regular cleaning and periodic maintenance.
It’s important to note that the specific steps and products used may vary based on the type of commercial concrete coating selected, such as epoxy, polyurethane, or other specialized coatings. Additionally, compliance with local regulations and safety standards is crucial throughout the installation process. Consulting with a professional installer and following manufacturer guidelines is essential for a successful and long-lasting commercial concrete coating installation.